

Background
My nursery school child was into puzzles and fitting gears, so I decided to make him a 3D printer gear toy to play with.
Printing
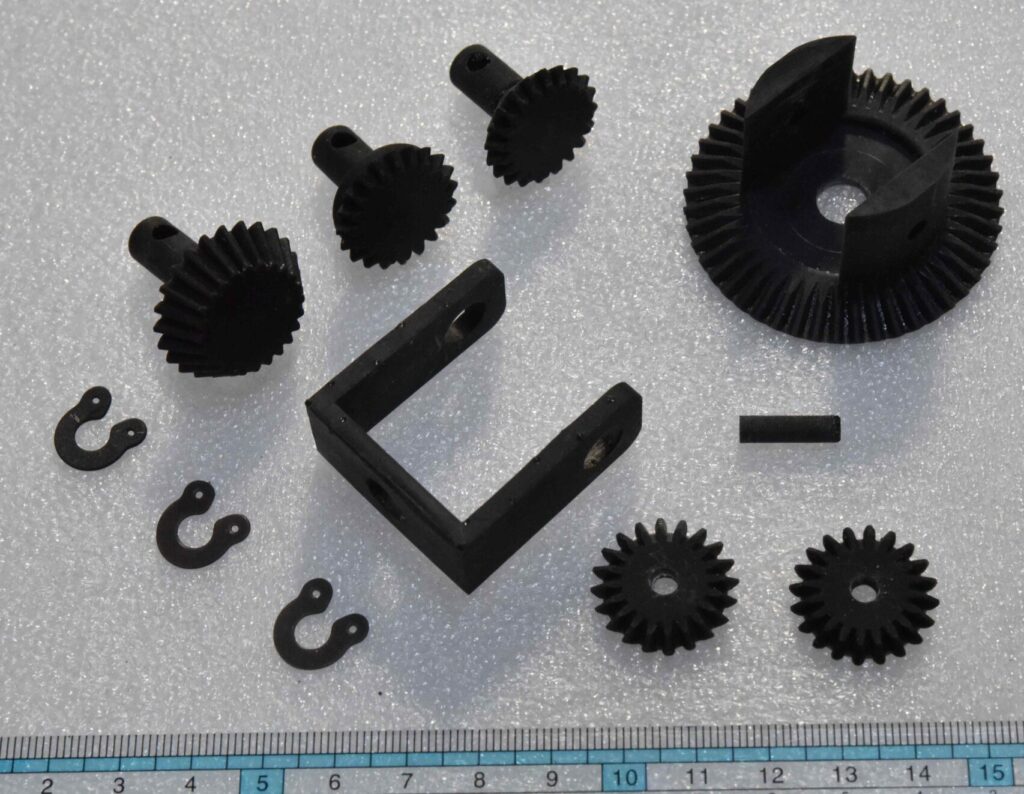
The 3D data of the toy was downloaded from thingiverse website.
This toy was printed using an optical 3D printer “ELGOO SATURN 8K”. The resin I used is Water Washable Resin by SK.
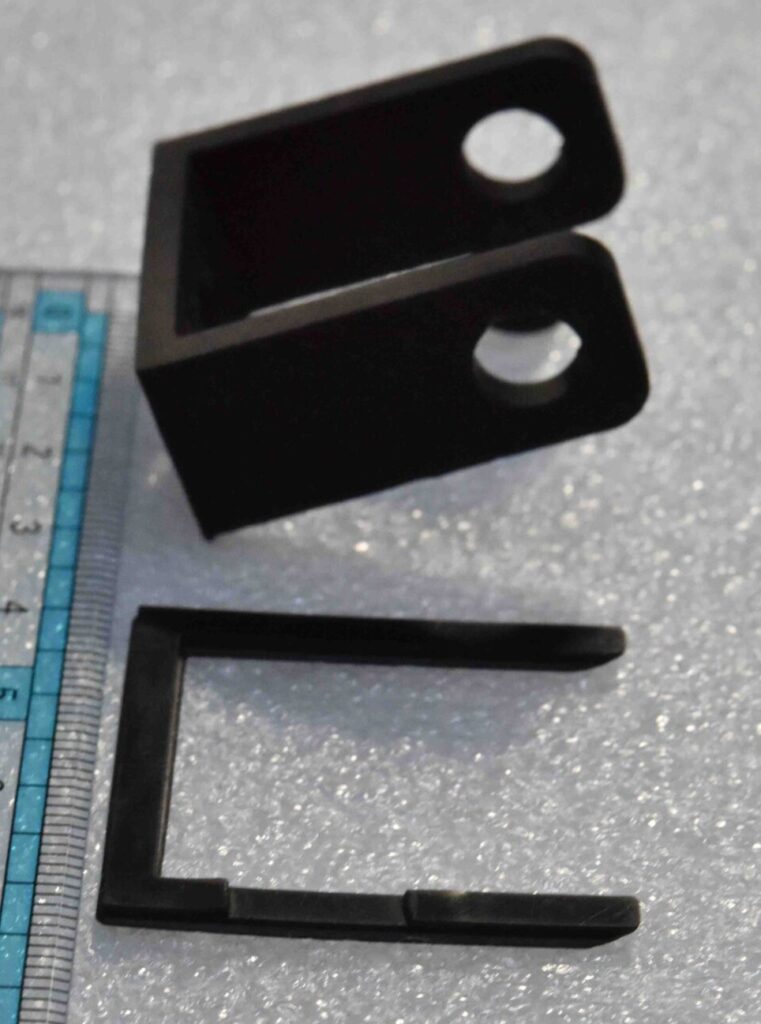
The U-shaped part failed once. In the photo below, the lower side is the failed part and the upper side is the successful part. In the failed case, I tried to mold the part by placing it directly on the molding table, but after the first few layers, for some reason, it stopped stacking (the molding part was left behind on the pool side). I think that if I put the parts directly on the molding table, the risk of the parts being left behind in the pool would be reduced, but it is a mystery why it failed. I tilted the part 45 degrees (as shown in the photo) and attached a support material to the part, and it worked.
Assembly
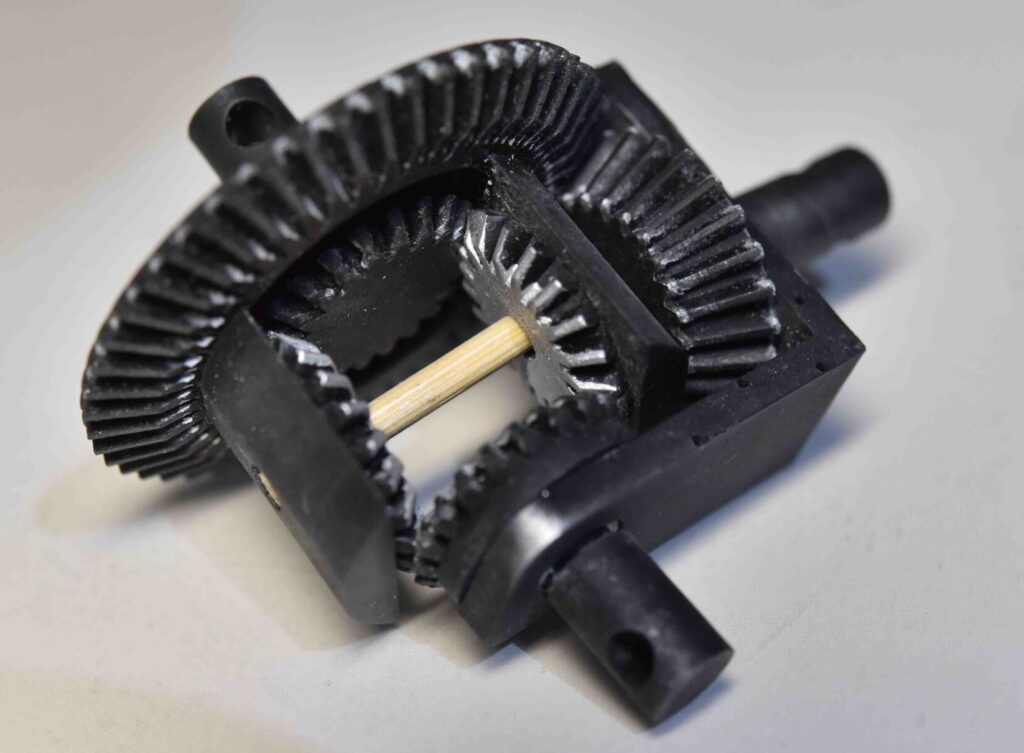
The following is the assembled version photo. The shaft parts were replaced with bamboo strips to increase strength. Also, the clamp parts (the three parts on the left in the photo above) were not used because the gear parts did not come off without them.
The U-shaped hole was sanded and the hole diameter was enlarged a little because it was hard to turn as it was printed.
Please see the following movie for the assembly procedure and actual rotation.
Conclusion
I played with a toy printed by a 3D printer. I had to do some sanding around the holes, but other than that, there were no problems, and I was able to play with the toy almost as it was formed. However, it seems that it is still difficult for nursery school children to play with it, as they need a certain amount of force to turn it and to know where to hold it down. Even adults would get a little lost when assembling it, and I thought the difficulty level of the puzzle was high for a preschooler. I would like them to play with this toy when they are a little older.

コメント